

Best toothbrushes for braces: Top Picks for 2026 (best toothbrushes for braces)
When it comes to brushing with braces, the best toothbrush is always one with a small head and soft bristles. This combination is key to gently and effectively cleaning around all that delicate orthodontic work. You'll find that specialised brushes, like an electric toothbrush with an ortho head or a manual one with V-shaped bristles, are brilliant at getting plaque off your brackets and wires.
Your Guide to Brushing with Braces
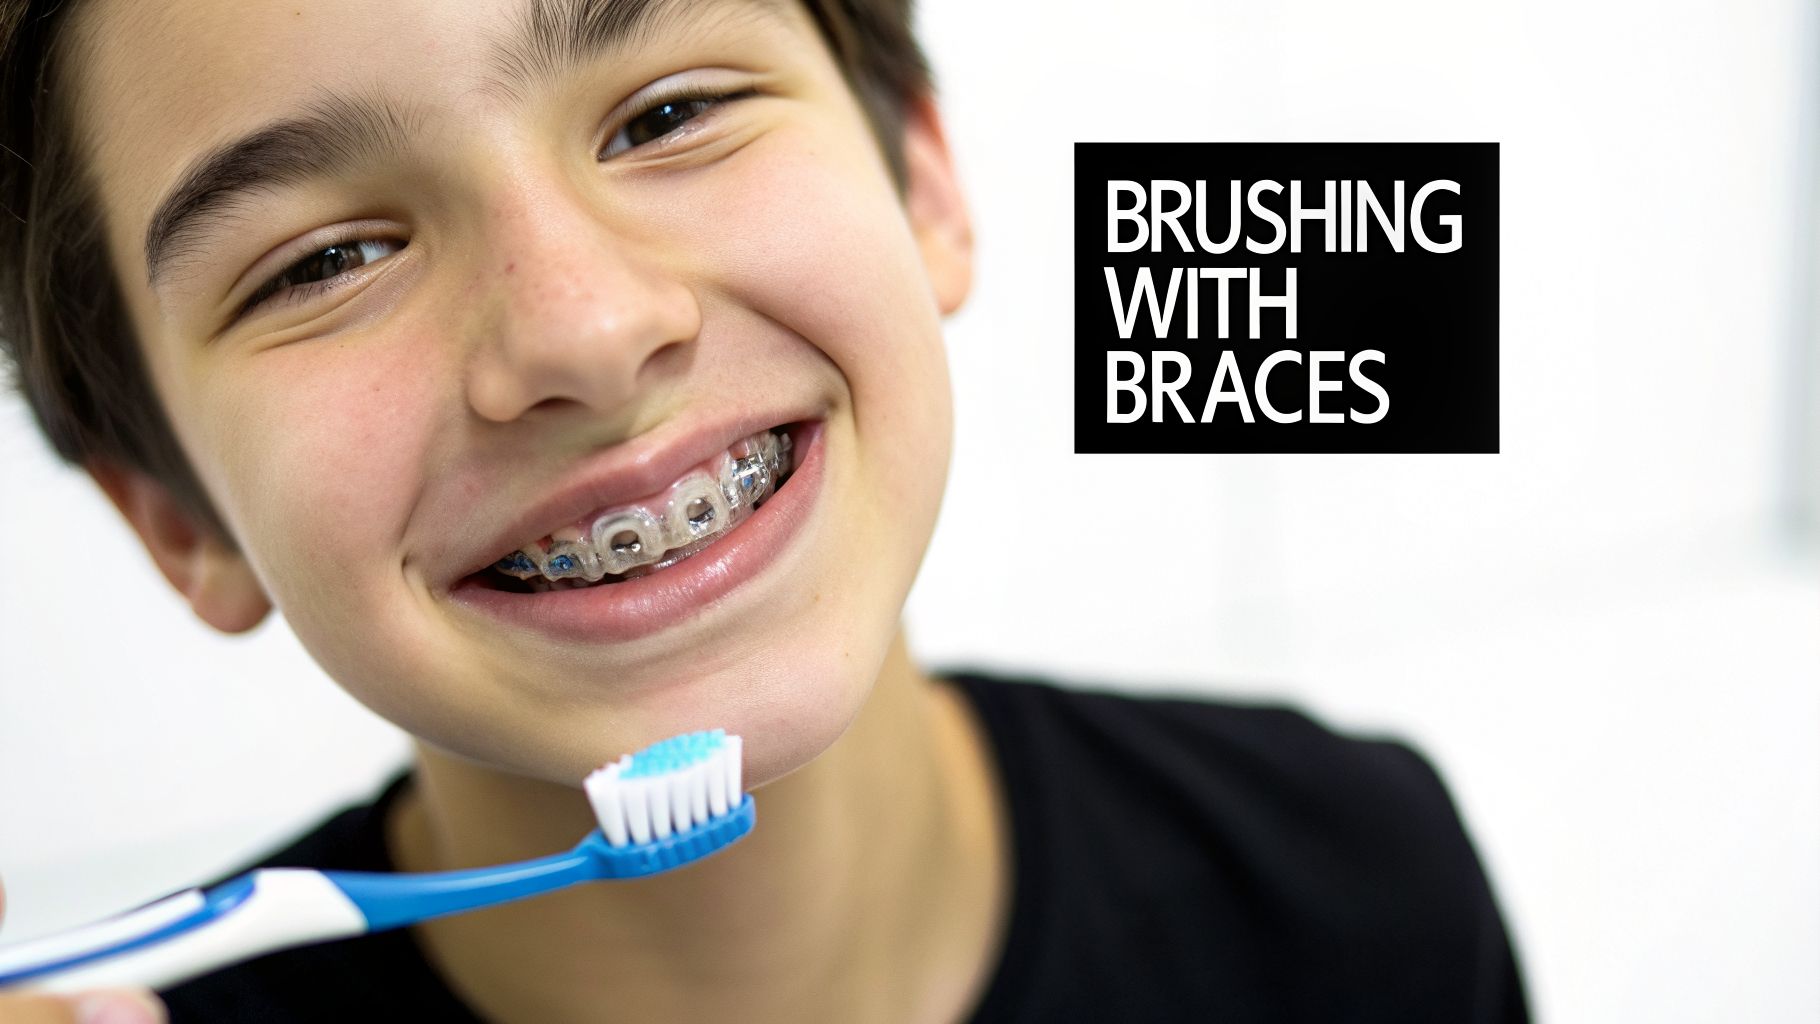
Getting braces is a huge step towards that smile you've always wanted, but it definitely means you’ll need to step up your cleaning game. All those new brackets and wires create a maze of nooks and crannies where food and plaque love to hide. If they aren't cleaned out properly, you can run into problems like tooth decay, gum inflammation, or even permanent white spots on your teeth.
Think of your braces like an intricate garden trellis. You wouldn't blast it with a pressure washer; you'd use smaller, more precise tools to clean it without causing any damage. It’s the same with your teeth—choosing the right toothbrush for the job is what makes all the difference.
Key Tools for a Braces-Friendly Clean
To get a truly deep clean, your old toothbrush probably won't be enough. A solid oral hygiene routine for braces usually involves a few different tools, each with a specific job. Here’s a quick rundown of what you’ll need in your toolkit.
To make things simple, here’s a quick summary of the tools we recommend for keeping your teeth spotless while wearing braces.
Quick Guide to Brace-Friendly Cleaning Tools
| Tool Type | Key Feature | Best For | | :--- | :--- | :--- | | Specialised Toothbrush | Soft bristles, small or v-shaped head | Daily brushing around brackets and wires. | | Interdental Brush | Tiny, cone-shaped brush head | Cleaning underneath the archwire and between teeth. | | Water Flosser | Pulsating stream of water | Flushing out food debris from hard-to-reach areas. |
These tools work together to ensure no plaque or food is left behind, setting you up for a fantastic result when your braces come off.
> Taking the time to master a more detailed cleaning routine is one of the most important parts of your orthodontic journey. It might feel like a bit of extra effort now, but it guarantees that the beautiful, straight smile you get at the end is a healthy one, too.
Learning a bit about the different types of orthodontic treatment can also help you feel more prepared for the road ahead. This quick overview gives you a starting point before we dive into the specifics of each brush and tool.
Manual vs Electric Toothbrushes for Braces
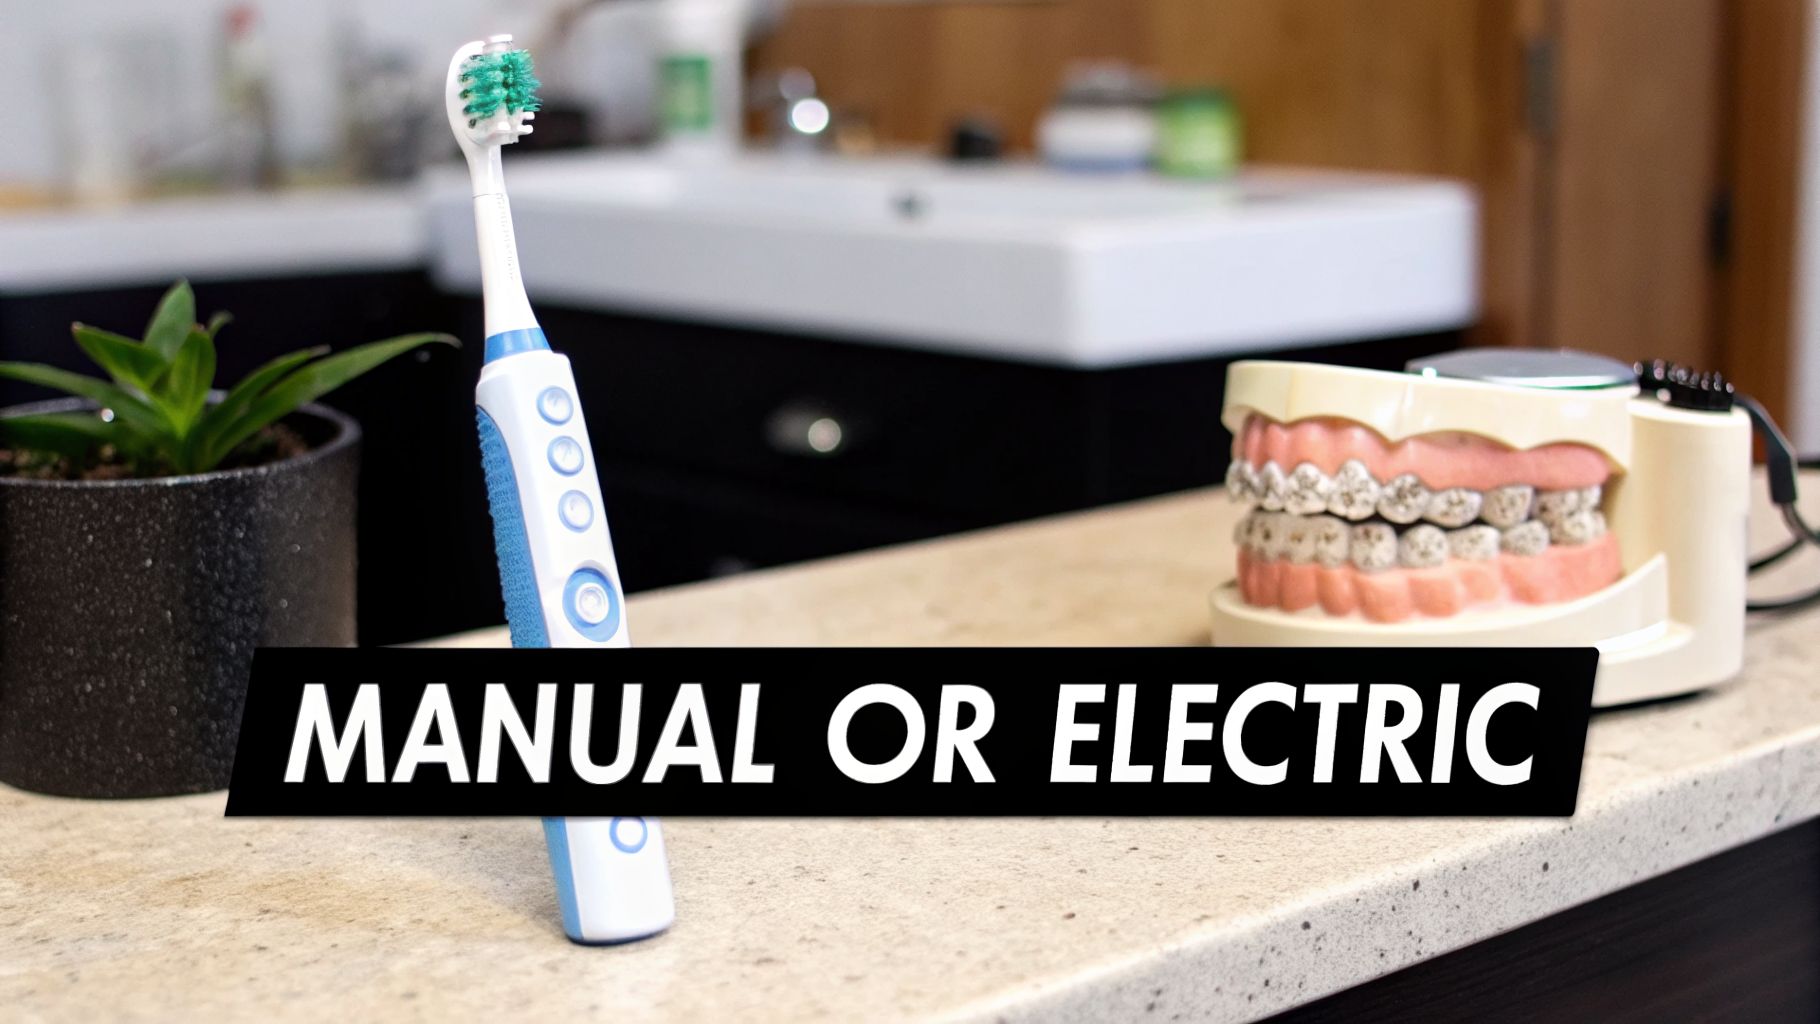
When you first get your braces, one of the biggest questions is about your toothbrush. Should you stick with a manual one or switch to an electric model? The honest answer is that both can work brilliantly, but they each have their own strengths when it comes to cleaning around all that new hardware. It really boils down to your own preference, budget, and what feels most comfortable for you.
Think of it like cleaning a detailed car grille. You can definitely get it sparkling with a standard sponge (your manual brush) if you're careful and methodical. But a powered detailing tool (the electric brush) often gets into every little nook and cranny with a lot less effort and more consistent results.
The Case for Electric Toothbrushes
We often find that electric toothbrushes give people with braces an edge. Their powered heads do most of the hard work, with oscillating or sonic vibrations that are fantastic for shaking plaque loose from around brackets and under wires.
Many modern electric brushes also have some clever features that are perfect when you're navigating braces: * Pressure Sensors: These give you a heads-up if you’re pressing too hard, which is a great way to protect your gums and avoid accidentally damaging your braces. * Built-in Timers: Most have a two-minute timer, taking the guesswork out of brushing and ensuring you’re cleaning for the full recommended time. * Specialised Ortho Heads: Many brands now offer brush heads designed specifically for orthodontics, with bristles cut to fit perfectly around your brackets.
There's a reason they're so popular. The electric toothbrush market here in Australia is booming, valued at an impressive AUD 101.67 million in 2025. You can dig into the numbers and see the trend for yourself in the latest market analysis.
The Advantages of Manual Toothbrushes
While electric models get a lot of attention, you shouldn't write off a good manual toothbrush. They’re affordable, easy to find, and give you total control over every movement. The secret for brace-wearers is to find a specialised orthodontic manual toothbrush.
> These brushes have a special "V-shape" or "V-trim" bristle design. The bristles in the middle are shorter to clean the front of your brackets, while the longer bristles on the outside reach the tooth surface above and below the wires.
This smart design makes it much easier to clean those tricky spots, especially when you use the right technique. Plus, manual brushes are a breeze to toss in a bag for school or work, making it simple to keep up with your cleaning routine wherever you are.
At the end of the day, the best toothbrush for you is the one you'll actually use—and use well. An electric brush might make the job quicker and more foolproof, but a dedicated manual ortho brush can deliver fantastic results for those who prefer having that hands-on control.
Essential Features of an Orthodontic Toothbrush
Picking the right toothbrush when you have braces isn’t as simple as grabbing any old brush from the supermarket shelf. It’s all about finding a tool that’s built for the job, one with features specifically designed to clean around all those new brackets and wires in your mouth. The right brush can make your cleaning routine feel easy and effective, keeping your teeth healthy while they’re being straightened.
Your toothbrush needs to pull double duty—it has to be gentle enough not to damage your braces or irritate your gums, but tough enough to get rid of plaque. Think of it like detailing a car; you need special brushes to get into all the tight spots without scratching the paintwork.
Soft and Rounded Bristles
If there's one thing you absolutely must look for, it’s soft bristles. Anything firmer, like medium or hard bristles, is just too aggressive for braces. They can cause your gums to recede, wear down your enamel, and even damage the orthodontic brackets themselves over time.
Soft, rounded bristles are much more forgiving. They have enough flex to bend around your brackets, gently sweeping away food and plaque from the tooth surface and along the gumline. This is really important because your gums can feel a bit more sensitive while you're undergoing treatment.
> Remember, the goal is to clean thoroughly, not aggressively. Soft bristles give you that perfect balance, protecting both your gums and your investment in a straighter smile.
Compact Brush Head
Next up is the size of the brush head. A small, compact head is your best friend when your mouth is full of obstacles. A big, clunky toothbrush just can't get into all the nooks and crannies properly. A smaller head gives you the precision you need to reach every single surface, especially those tricky back molars.
With a compact head, you can easily angle the brush to clean:
- The tooth surface *above* the bracket.
- The tooth surface *below* the bracket.
- The front of the bracket itself.
- The inside surfaces of your teeth, which are often missed.
This kind of agility is a huge part of good preventive care while you have braces.
Specialised V-Shaped Bristle Design
If you prefer a manual toothbrush, look for one with an orthodontic "V-shape" or "V-trim" design. These are an absolute game-changer. They’re specifically engineered for braces, with shorter bristles in the middle and longer ones on the outside.
This clever design lets you clean multiple areas at once. The short bristles scrub the face of the brackets, while the longer outer bristles clean the tooth above and below the wire at the same time. It makes your brushing far more efficient and helps you tackle the unique challenge of cleaning around braces head-on.
Getting Your Brushing Technique Right With Braces
Having the right tools is half the battle, but your brushing technique is what truly keeps your smile healthy while you have braces. It’s a bit different from how you used to brush, I'll admit. You'll need more care and precision, but once you get the hang of it, it’ll feel completely natural.
The key is to be gentle and thorough, not just to scrub harder. Think of it like cleaning around a delicate piece of jewellery. Each bracket and wire needs focused attention to stop plaque from building up. Getting this right is your best defence against pesky white spots or decay during your treatment.
Your Go-To Move: The 45-Degree Angle
If you remember one thing, make it this: always brush at a 45-degree angle around your brackets. This angle is perfect for letting the bristles sneak under the wire and clean right up against the edges of the brackets, where plaque loves to hide.
First, angle your brush down from above to clean the space between your gums and the top of the brackets. Then, flip the angle and brush up from below to clean between the bottom of the brackets and the edge of your teeth. For both, use small, gentle circles on every single tooth.
An orthodontic toothbrush, like the one shown below, is designed specifically to make this technique easier.
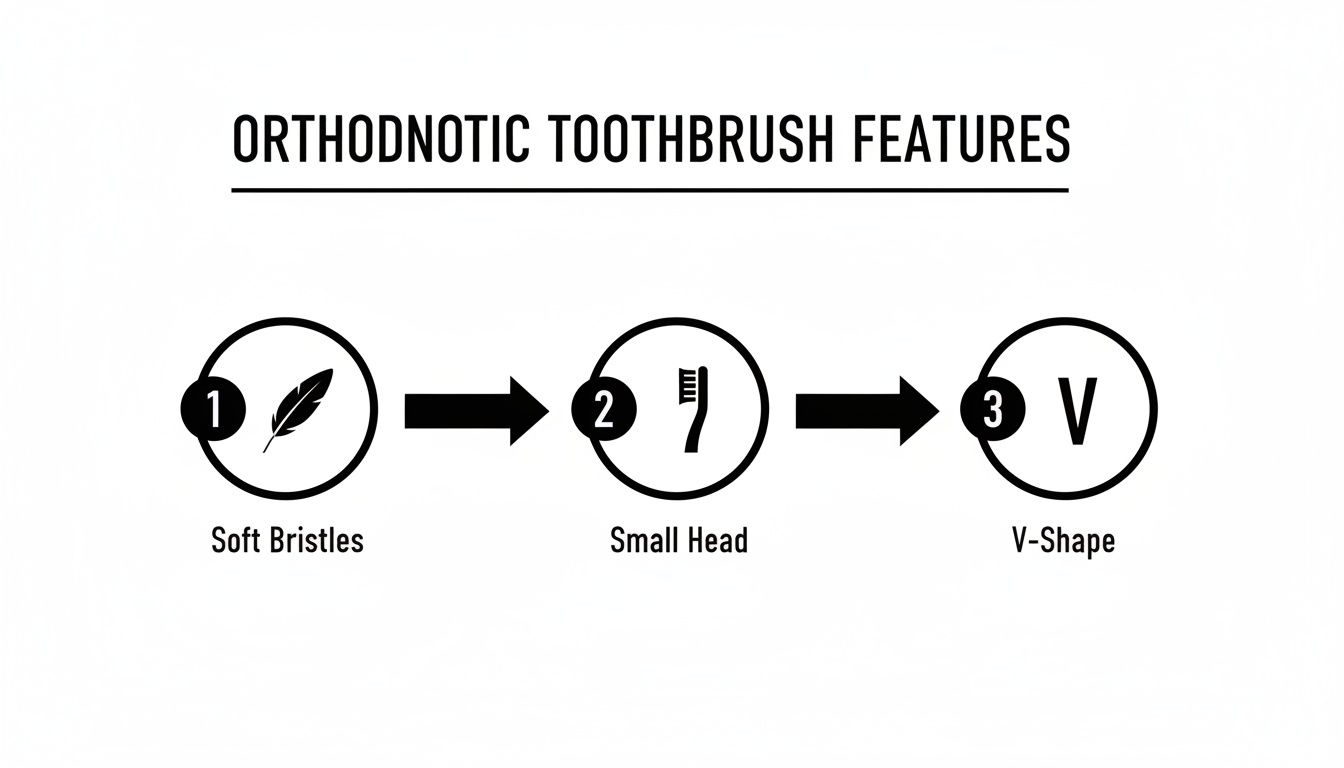
The combination of soft bristles, a smaller head, and that special V-shape all work together to clean around your braces far more effectively than a standard brush.
A Simple Step-by-Step Brushing Routine
To make sure you don't miss a spot, it helps to follow a consistent routine. Just aim for at least two solid minutes every time you brush.
- Brush Around the Brackets: Start with the outside surfaces. Using that 45-degree angle, spend about 30 seconds on each quarter of your mouth (upper right, upper left, etc.). Gently clean above, below, and on the face of each bracket with those small circles.
- Scrub the Chewing Surfaces: Next, hold your brush flat against the tops of your molars. A simple back-and-forth motion here works best to clear out any food stuck in the grooves.
- Clean the Inside Surfaces: Don't forget the backs of your teeth! Angle your brush at 45 degrees toward your gumline and gently sweep the plaque away from the gums. This part is easier since there are no brackets, but it's just as important.
> Taking the time to follow these steps really pays off. It puts you in control of your oral health and ensures that when your braces finally come off, the smile you see is not just straight, but beautifully healthy, too.
Beyond the Toothbrush: Essential Interdental Tools
While your toothbrush does the heavy lifting, it can't win the battle against plaque all by itself—especially not with braces in the way. That intricate network of brackets and wires creates a minefield of tiny spaces where food and plaque love to hide. To get a truly deep clean, you need to bring in some specialised backup.
Think of it this way: a broom (your toothbrush) is perfect for the open floors, but you still need smaller tools to get into corners and behind the sofa. Interdental tools are just like that, designed specifically to clean where your main brush simply can't reach.
Meet the Interdental Brush
One of the most useful tools you'll have is the interdental brush, which you might hear called a "proxabrush." These are basically tiny, Christmas-tree-shaped brushes on a handle, perfectly sized to navigate the tight spots around your braces.
Their whole purpose is to tackle the tricky areas a regular toothbrush misses, like: * The tight spaces between your teeth. * Directly underneath the main archwire. * Around the sides of every single bracket.
Using one is simple. Just gently poke the brush under your wire between two brackets and give it a few gentle scrubs. That simple move is fantastic for dislodging stubborn food bits that would otherwise turn into plaque and cause sore, puffy gums—a key step in avoiding gum disease while wearing braces.
The Power of a Water Flosser
Another brilliant addition to your routine is a water flosser, often known by brand names like Waterpik. Instead of using string, a water flosser shoots a targeted, pulsating stream of water to flush out plaque and food debris from between your teeth and along the gumline.
> It's like trying to clean a detailed wrought-iron fence. You could try with a cloth, but you'll never get into all the twists and turns. A water flosser acts like a gentle pressure washer for your mouth, blasting debris clean from all those nooks and crannies.
Water flossers are fantastic for anyone with braces because the stream of water gets right under wires and around brackets without any hassle. It’s a quick, surprisingly comfortable, and incredibly effective way to make sure your mouth is spotless.
It’s clear people are taking this multi-tool approach seriously. The Australian oral care market hit a staggering USD 811.0 million in 2024, which just goes to show how much we value keeping our smiles healthy. If you’re interested in the numbers, you can explore more insights on the oral care market.
Caring for Your Toothbrush and Knowing When to Replace It
One thing we always tell our patients with braces is that their toothbrush is going to take a beating. Those brackets and wires are tough, and they put your brush through its paces, causing the bristles to wear out much faster than you might be used to.
Keeping your toothbrush in top condition isn't just a suggestion—it's essential for getting a proper clean. A worn-out brush simply can't do its job, leaving plaque and bacteria to build up in all those new nooks and crannies.
How to Look After Your Brushing Tools
A bit of simple care after each brushing session will keep your toothbrush hygienic and working effectively until it's time for a new one. It’s a small habit that makes a big difference.
Just follow these quick steps every time you brush:
- Rinse It Well: After brushing, hold the brush head under running water. Use your thumb to gently work through the bristles to get rid of any trapped food debris or leftover toothpaste.
- Store It Upright: Pop your toothbrush into an open-air holder and let it air dry completely. Tossing a wet brush into a closed container is a recipe for bacterial growth.
- Give It Space: If you share a toothbrush holder with family, make sure the brush heads aren't touching. This simple step helps prevent germs from swapping between brushes.
Knowing When It Is Time for a Change
Because your braces are so hard on the bristles, you'll find yourself needing a new toothbrush or brush head more often. The usual advice is to replace your brush every three months, but with orthodontics, that timeline often gets shorter. A good rule of thumb is every one to three months.
More important than the calendar, though, is what the brush actually looks like.
> The golden rule is this: replace your brush the moment you see the bristles looking frayed, bent, or matted down. Once they’ve lost their shape, they’ve lost their ability to clean properly around your brackets and gums.
To make it easy on yourself, set a reminder on your phone or just grab a permanent marker and write the date on your new brush head when you open it. This ensures you’re always using a tool that's up to the job of protecting your investment in a healthy, beautiful smile.
Frequently Asked Questions About Brushing with Braces
Getting braces is exciting, but it definitely changes your daily routine. It's completely normal to have questions about how to keep your teeth sparkling clean around all that new hardware. We get asked these all the time, so we've put together the answers to help you navigate your new oral care routine with confidence.
Can I Use Whitening Toothpaste with Braces?
This is a really common question, and our advice is to hold off on any whitening products for now. The problem is, whitening toothpaste can only work on the parts of your teeth it can actually touch.
That means you risk ending up with bright teeth and darker, discoloured squares where your brackets were once your braces come off. It’s much safer to wait until your treatment is finished to think about whitening.
How Often Should I Brush with Braces?
With all the new places for food to get stuck, you'll want to brush after every meal if you can. This helps get rid of any food particles caught in your brackets and wires straight away, stopping plaque before it has a chance to build up. At a minimum, a thorough two-minute brush in the morning and right before bed is non-negotiable.
> If you’re out and about and can’t brush after eating, do the next best thing: swish your mouth out vigorously with plain water. It’s a great way to dislodge food bits until you can get to your toothbrush.
What Happens If I Don’t Clean My Teeth Properly?
Unfortunately, skipping on your cleaning duties when you have braces can lead to a few issues. When plaque sits around the brackets, it can cause decalcification, which leaves permanent white spot stains on your enamel.
Beyond that, poor hygiene dramatically increases your risk of cavities, gingivitis (sore, puffy gums), and bad breath. These problems can not only be uncomfortable but might even slow down your orthodontic progress.
Do I Still Need Regular Dental Check-ups?
Yes, absolutely! Keeping up with your six-monthly dental check-ups is more important than ever. Your orthodontist is focused on the very important job of straightening your teeth, but your general dentist is there to look after your overall oral health.
These appointments are essential for catching any early signs of decay and giving your teeth a professional clean that can get into all the tricky spots your brush might miss. You can find out more about what our professional check-ups at Oasis Smiles Dental involve.
--- Ready to ensure your smile stays healthy throughout your orthodontic journey? The team at Oasis Smiles Dental is here to help with expert advice and comprehensive care. Book your appointment with us today!